Package Versions
v15.3.3
NextJs
v^19.0.0
React
v4+
Tailwindcss
v4+
Aceternity
v^3.92.0
Sanity
Docstra Tailwind NextJs Template is built with Tailwindcss and Nextjs.
These theme is ready to use and you can totally customize as per your requirement.
For Customize, You should have knowledge of NextJs, sanity.io, ReactJs, Tailwind and JSX to be able to modify these template.
Docs Menu
Package Structure
Docstra Tailwind Nextjs Templates
|—
 package
|
|
|
|
|
|
|
|
|
|
|
|
|
|
|
|
|
|
|
|
|—
public|—
src|
|
|
|
|
|
|
|
|
|
|—
app|
|
|
|
|
|
|
|
|
|
|—
(site) (Contains all the pages)|
|
|
|—
docs|—
licence|—
project-documentation
|—
api|—
components (All the Components of this template.)|—
global.css|—
layout.tsx|—
not-found.tsx|—
page.tsx
|—
lib
|—
next.config.mjs|—
postcss.config.mjs|—
package.json|—
tailwind.config.ts|—
tsconfig.json
|—
docstra-docs (sanity local setup)|
|
|
|
|
|
|
|
|
|
|
|
|
|
|—
sanity|—
backup|
|—
production.tsr.gz
|—
dist|—
cardGrid.ts|—
code.ts|—
doc.ts|—
index.ts
|—
schemaTypes|
|
|
|
|
|—
sanity.cli.ts|—
sanity.config.ts
Sanity Configuration
Steps for creating account in Sanity.io
1. Visit Sanity.io
Go to https://www.sanity.io in your web browser.
2. Click on “Start building” or “Sign in”
On the homepage, click on the "Start building" or "Sign in" button in the top-right corner.
3. Choose Sign Up Method
You’ll be redirected to the login/signup page. Choose one of the following sign-up methods:
- GitHub
Recommended: Use your GitHub account for smoother CLI and deployment integration.
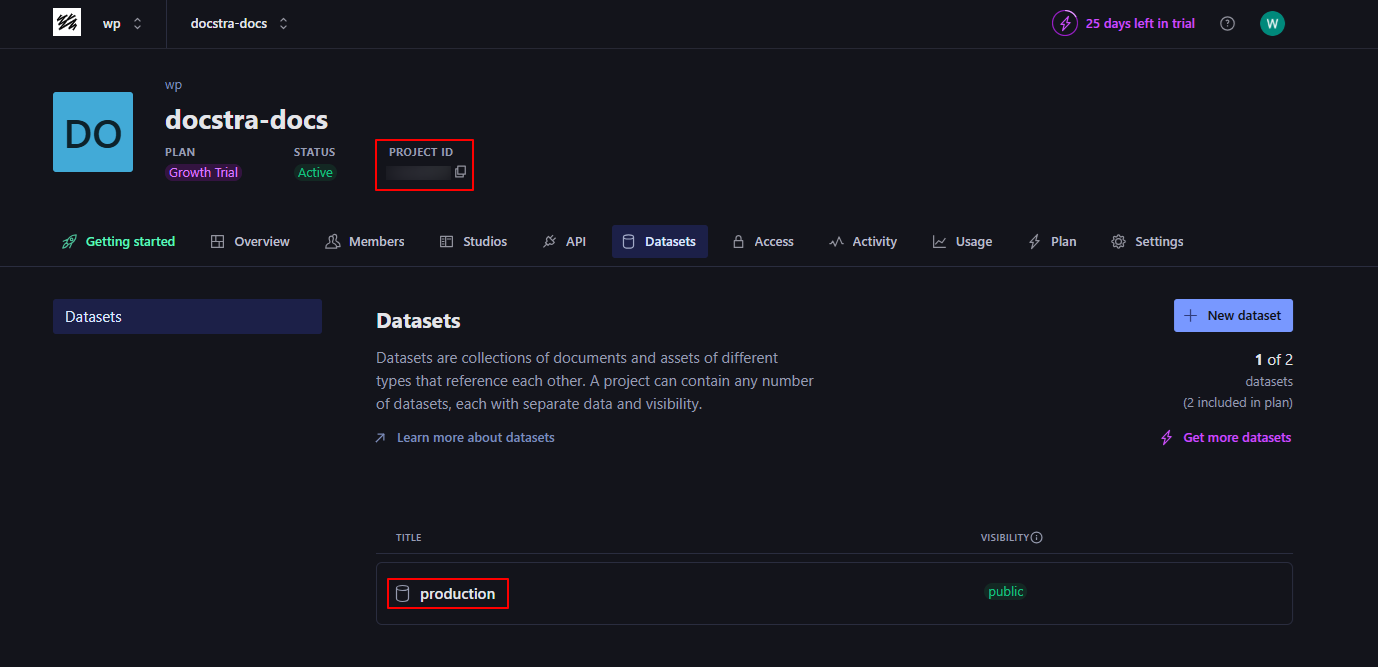
4. Dashboard Access
After signing up, you’ll be taken to the Sanity Manage Dashboard:
- You can create your first project.
- Access ProjectId, Dataset, Token etc.
Sanity CLI installed globally
5. Install Sanity CLI
Run the following command in your terminal to install the CLI globally:
npm install -g @sanity/cli
6. Rename .env.local File as .env
In your Sanity Studio project folder (e.g., studio/), rename .env file at the root level and named it as .env and set environmental variables.
|—
docstra-docs/|
|
|
|
|—
.env|—
sanity.config.ts|—
sanity.cli.ts
SANITY_STUDIO_PROJECT_ID=your_project_id
SANITY_STUDIO_DATASET=your_dataset_name
In your package project folder (e.g., package/), rename .env.local file at the root level named as .env and set environment variable.
NEXT_PUBLIC_SANITY_PROJECT_ID=your_project_id
NEXT_PUBLIC_SANITY_DATASET=your_dataset_name
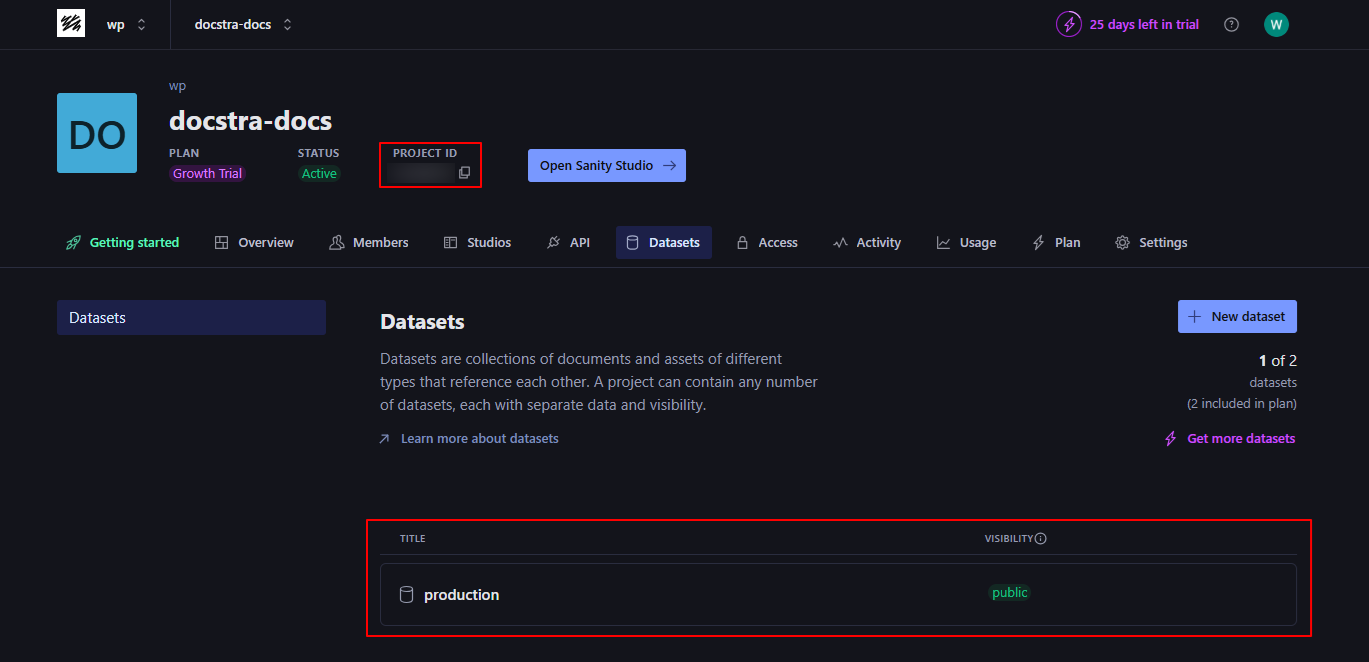
7. You will find .env variable from here
Add your Sanity project ID to the.env file:

Add your Sanity Dataset to the.env file:
If You want to Import the dummy Dataset
Demo data is available in .studio/backup/production.tar.gz.
For import dummy dataset go to /studio and in terminal run the following command
sanity dataset import <file> <targetDataset>
eg: npx sanity dataset import ./backup/production.tar.gz production
Navigate to Studio Folder
cd studio
Install Dependencies
npm install
Start Local Development Server
npm run dev
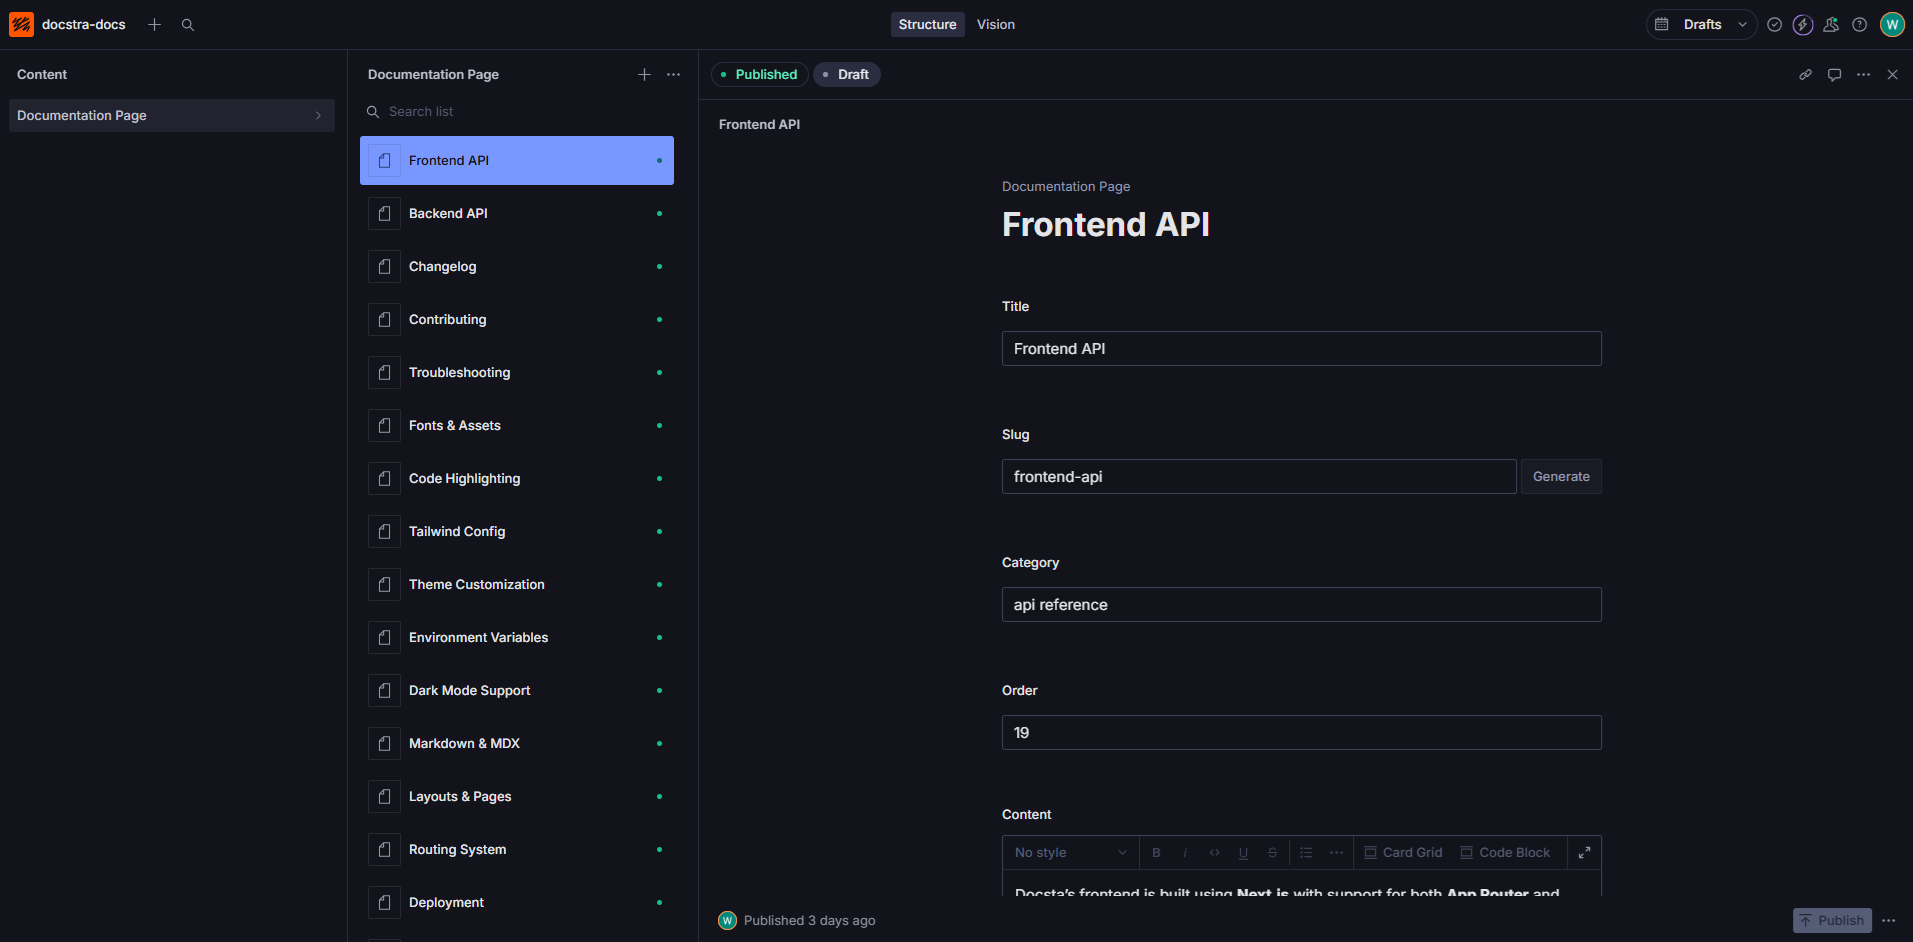
This will start your Sanity Studio at http://localhost:3333
After starting local server you be redirected to Sanity Studio Dashboard. From the dashboard, you can post Articles and add Authors.
After dataset configuration and sanity set up you can deploy
- 1. Deploy on vercel
- 2. Any Deployment server (e.g. hostinger, netlify)
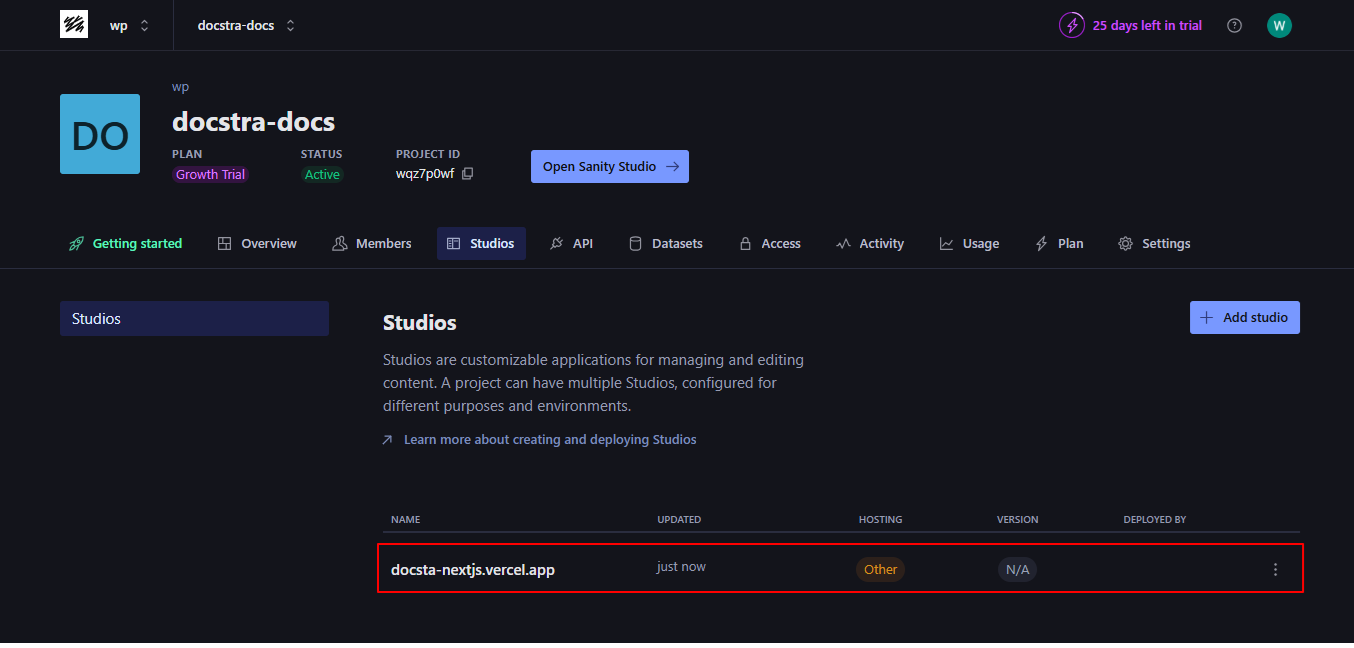
After Deployment you can set live url into Sanity studios section
Quick Start for Frontend package
1. Requirements
Before proceeding, you need to have the latest stable node.js
Recommended environment:
- node js 20+
- npm js 10+
2. Install
Open package folder and install its dependencies. We recommanded yarn or npm.
1) Install with npm:
cd package
npm install
1) Install with yarn:
cd package
yarn install
3. Start
Once npm install is done now you an run the app.
npm run dev or yarn run dev
This command will start a local webserver http://localhost:3000:
> docstra@1.0.0 dev
> next dev
-Next.js 15.2.4
-Local: http://localhost:3000
4. Build / Deployment
After adding url run below command for build a app.
npm run build or yarn build
Finally, Your webiste is ready to be deployed.🥳
Package Project Configuration
Colors
1. Override Colors
For any change in colors : src/app/globals.css
--color-primary: #0F7ED9;--color-secondary: #5E696E;--color-smokyBlack: #131516;--color-paleSlate : #F6F8F9;--color-charcoalDark: #2F3037;
2. Override Theme Colors
For change , go to : src/app/globals.css
--color-primary: #0F7ED9;--color-secondary: #5E696E;
Typography
1. Change Font family over here : src/app/layout.tsx
import { Geist, Geist_Mono } from 'next/font/google';
const geistSans = Geist({ variable: '--font-geist-sans', subsets: ['latin'], });
const geistMono = Geist_Mono({ variable: '--font-geist-mono', subsets: ['latin'], });
Logo
1. Change Logo over here : src/app/components/layout/header/logo/index.tsx
<Link href="/">
<Image
src="/images/logo/logo.svg"
alt="logo"
width=130
height=40
className='dark:hidden'
/>
<Image
src="/images/logo/logo-white.svg"
alt="logo"
width=130
height=40
className='dark:block hidden'
/>
</Link>